Workflow for cleaner shower water: 99% chlorine removal
Ever wonder why your skin feels tight and your hair looks dull after every shower? Unfiltered tap water loaded with chlorine and chloramine is often the culprit. These chemicals irritate skin and strip hair of its natural moisture. Vitamin C shower filters neutralize up to 99% of chlorine, transforming your daily routine into a healthier experience. This guide walks you through choosing, installing, and maintaining a Vitamin C filter to revive your skin and hair.
Table of Contents
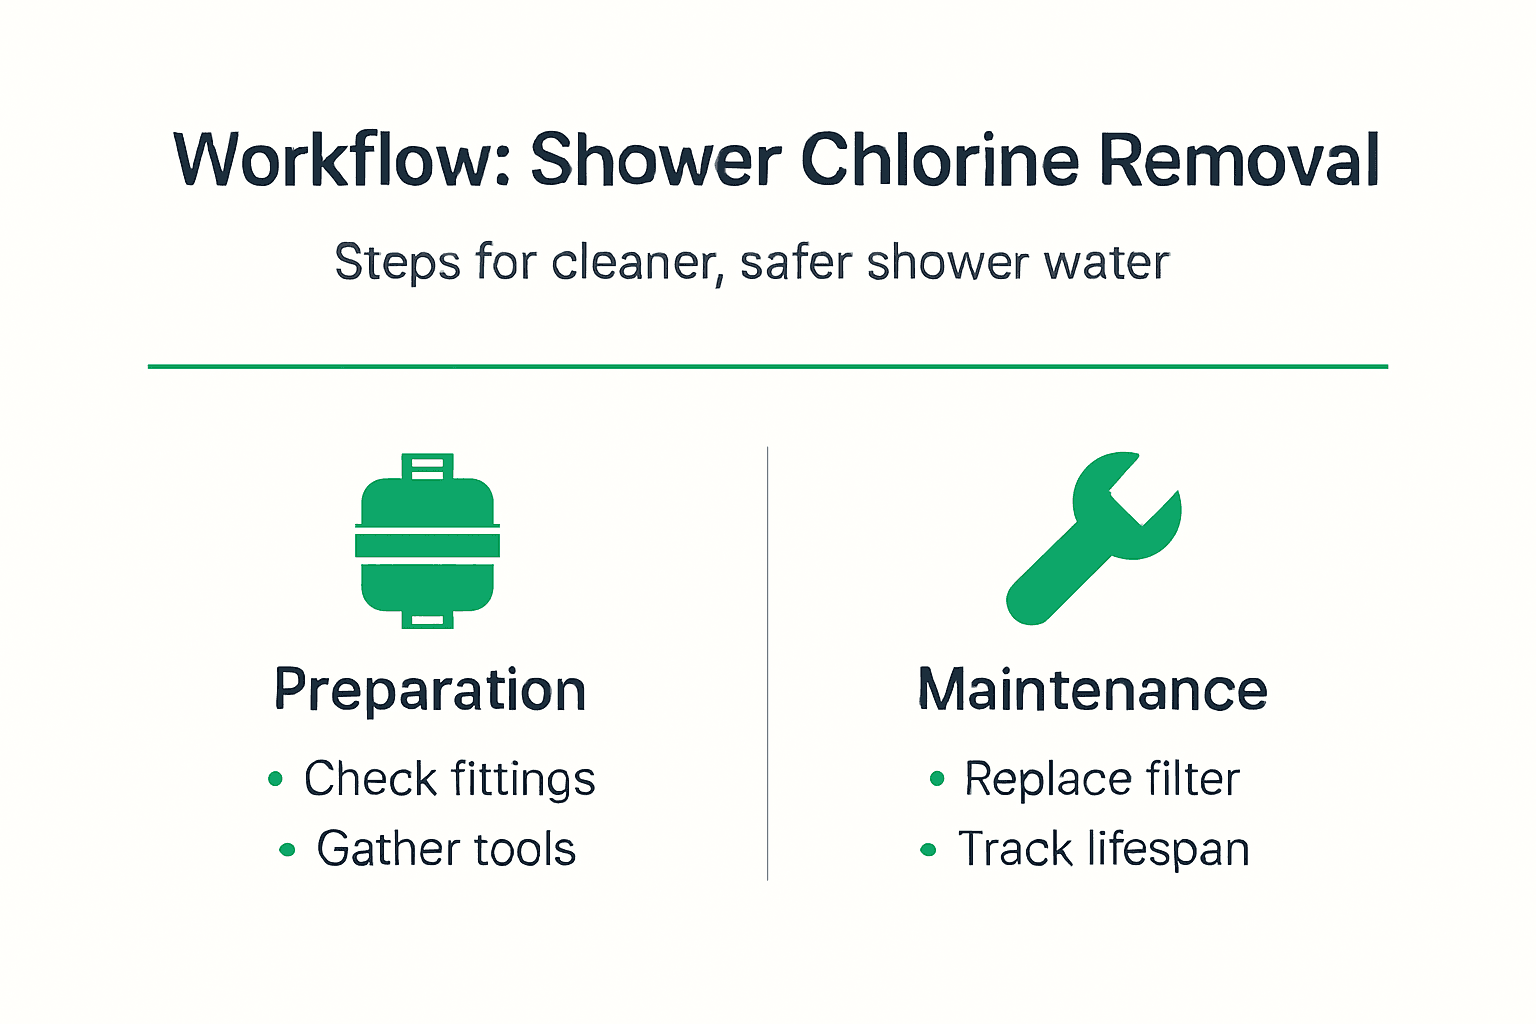
- Prerequisites: What You Need Before Starting
- Step 1: Choosing The Right Vitamin C Shower Filter
- Step 2: Installing Your Vitamin C Shower Filter
- Step 3: Maintaining And Replacing Filters
- Common Mistakes And Troubleshooting
- Expected Results And Health Benefits
- Discover Vitaclean’s Vitamin C Shower Filtration Solutions
- Frequently Asked Questions About Vitamin C Shower Filters
Key takeaways
| Point | Details |
|---|---|
| Chlorine removal | Vitamin C filters eliminate up to 99% of chlorine and chloramine in shower water. |
| Installation essentials | Use plumber’s tape to prevent leaks in 15-20% of DIY installations. |
| Filter lifespan | Replace cartridges every 3 months to maintain peak filtration performance. |
| Visible improvements | Skin hydration typically improves within 2 weeks of consistent use. |
| Common errors | Avoid overtightening fittings and exposing filters to water above 120°F. |
Prerequisites: what you need before starting
Before you install a Vitamin C shower filter, verify you have everything in place for smooth setup. Check that your shower has a standard U.S. fitting compatible with most filters. Most handheld and wall-mounted shower heads use universal connections, but confirming this saves headaches later.
Gather your tools. You need an adjustable wrench and plumber’s tape. The wrench tightens connections without damaging threads, and the tape prevents leaks. Have the installation guide handy, whether printed or on your phone.
Understand water temperature limits. Vitamin C filters work best with water below 120°F. Exceeding this temperature degrades the filter’s chemistry and shortens its lifespan. Most household water heaters default to safe ranges, but double-check your settings.
Prepare for ongoing maintenance. Filters need replacement every three months to maintain effectiveness. Setting a calendar reminder or subscribing to automatic deliveries keeps you on track. Learn more about Vitamin C filtration benefits to understand what you’re gaining.
Pro Tip: Measure your existing shower arm diameter before buying. Most filters fit standard half-inch connections, but checking prevents returns and delays.
Step 1: choosing the right vitamin C shower filter
Not all filters deliver the same results. Look for products with documented chlorine removal rates near 99% effectiveness. This level of performance makes a noticeable difference in skin comfort and hair texture.
Check the filter’s lifespan and replacement schedule. Most quality filters last about three months with typical household use. Shorter lifespans mean more frequent replacements and higher ongoing costs. Longer intervals might indicate lower filtration capacity.
Confirm compatibility with your shower setup. Some filters attach to the shower arm, while others work with handheld units. Read product specifications carefully. Installation should take minutes, not hours.
Review user feedback focused on health outcomes. Look for comments about softer skin, reduced breakage, and decreased scalp irritation. These real experiences matter more than marketing claims. Browse Vitamin C shower filter options to compare features.
Consider subscription plans for cartridge replacements. Automatic deliveries ensure you never run out and always enjoy peak performance. Subscriptions often include discounts compared to one-time purchases. Explore shower filter benefits to understand long-term value.
Pro Tip: Choose filters with clear replacement indicators. Some models change color or include timers to signal when cartridges need swapping.
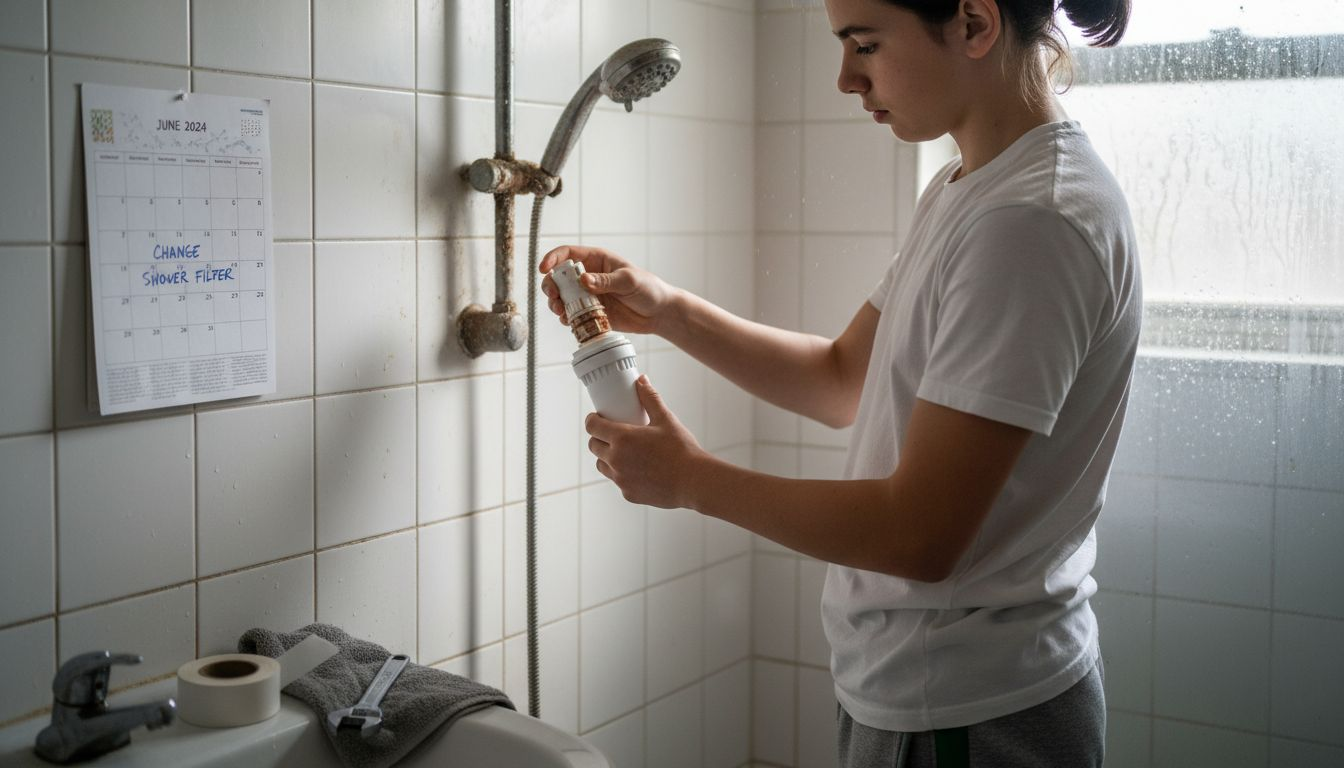
Step 2: installing your vitamin C shower filter
Installation takes about 10 minutes if you follow steps carefully. Start by turning off the water supply if your setup requires it. Most installations don’t need this step, but better safe than sorry.
- Remove your existing shower head by turning it counterclockwise with an adjustable wrench. Wrap a cloth around the connection to avoid scratching chrome or metal finishes.
- Clean the shower arm threads with a damp cloth to remove old plumber’s tape and mineral buildup. This creates a clean surface for the new connection.
- Wrap plumber’s tape clockwise around the shower arm threads three to four times. This prevents leaks in 15-20% of DIY installations when done correctly.
- Attach the Vitamin C filter by hand, turning clockwise until snug. Avoid using the wrench initially to prevent overtightening.
- Tighten gently with the wrench, about one quarter turn past hand-tight. Overtightening damages threads and causes leaks or cracking.
- Turn the water back on slowly and check all connections for drips or spray. Run water for 30 seconds to flush the new filter.
Test water flow and pressure. Some reduction is normal with new filters, but it should stabilize within a day. If flow remains weak, check for clogging or improper installation. Read detailed guidance on installing Vitamin C shower filters for model-specific tips.
Pro Tip: Mark your installation date on the filter housing or calendar. This reminder helps you track the three-month replacement schedule without guessing.
Step 3: maintaining and replacing filters
Regular maintenance preserves filtration quality and protects your investment. Replace cartridges every three months as recommended by manufacturers. Waiting longer reduces chlorine removal efficiency and diminishes skin and hair benefits.
Subscribe to a refill plan for automatic deliveries. Services like the filter subscription service ship replacements on schedule, eliminating the risk of forgetting. Subscriptions often include cost savings and guarantee you never shower with an expired filter.
Monitor performance between replacements. Notice changes in water smell, clarity, or your skin’s response. A return of chlorine odor signals declining filter capacity. Your skin feeling dryer than usual also indicates reduced effectiveness.
Keep water temperatures below 120°F. Higher heat accelerates Vitamin C degradation and shortens filter life. Most water heaters ship with safe default settings, but verify yours hasn’t been adjusted higher.
Clean external filter parts monthly to prevent mineral deposits. Wipe the housing with a damp cloth and white vinegar solution. Avoid harsh chemicals that might damage plastic components or contaminate filtration media.
Pro Tip: Keep a spare cartridge on hand. If you notice sudden performance drops or forget to order a replacement, you can swap immediately without waiting for shipping.
Common mistakes and troubleshooting
Skipping plumber’s tape ranks as the top installation error. Without it, connections leak in 15-20% of setups, wasting water and creating shower messes. Always use tape, even if connections seem tight.
Overtightening damages threads and cracks plastic housings. Hand-tight plus a quarter turn with a wrench provides adequate seal without risk. If you see stress marks or feel resistance, you’ve gone too far.
Delaying cartridge replacement reduces benefits you worked to achieve. Set phone reminders or use subscription services to maintain consistent filtration. An expired filter removes less chlorine and delivers fewer skin improvements.
Using excessively hot water degrades Vitamin C chemistry faster than normal. Stick to temperatures at or below 120°F. If you prefer very hot showers, consider lowering your water heater setting to protect the filter.
Reduced water flow usually indicates clogging from mineral buildup or sediment. Remove the filter and rinse it under clean water. If flow doesn’t improve, replace the cartridge early.
| Problem | Cause | Solution |
|---|---|---|
| Leaking connections | Missing plumber’s tape | Apply tape clockwise on threads |
| Cracked housing | Overtightening | Use gentle wrench pressure |
| Weak filtration | Expired cartridge | Replace every 3 months |
| Low water pressure | Mineral clogging | Rinse or replace filter |
| Short filter life | High water temperature | Keep below 120°F |
Pro Tip: If leaks persist after applying tape, check the rubber washer inside the filter connection. Missing or damaged washers cause drips even with perfect tape application.
Expected results and health benefits
Skin hydration improvements become noticeable within about two weeks of consistent use. You’ll feel less tightness after showers and see reduced flaking. Moisture retention improves as chlorine no longer strips natural oils.
Hair benefits take slightly longer. About 70% of users report reduced breakage and improved texture after six weeks. Hair feels softer and looks shinier as chlorine damage reverses. Split ends decrease over time with continued filtered water use.
Chlorine and chloramine exposure drops dramatically. Filters neutralize up to 99% of these chemicals, creating a gentler shower environment. Skin and scalp irritation diminish as harsh compounds vanish from your water.
Chlorine odor virtually disappears from your bathroom. No more chemical smell lingering after showers. This subtle change enhances the overall experience and confirms your filter works properly.
Scalp health improves with consistent use. Reduced irritation means less itching, fewer flakes, and better conditions for healthy hair growth. People with sensitive skin or dermatitis often see the most dramatic changes. Explore more hair and skin benefits of shower filters to understand long-term advantages.
“Switching to a Vitamin C shower filter transformed my skin within weeks. The dryness and itching I dealt with for years simply vanished. My hair feels healthier and looks more vibrant than it has in a decade.”
Pro Tip: Take before photos of your skin and hair. Comparing images after a month makes improvements more obvious and motivates continued use.
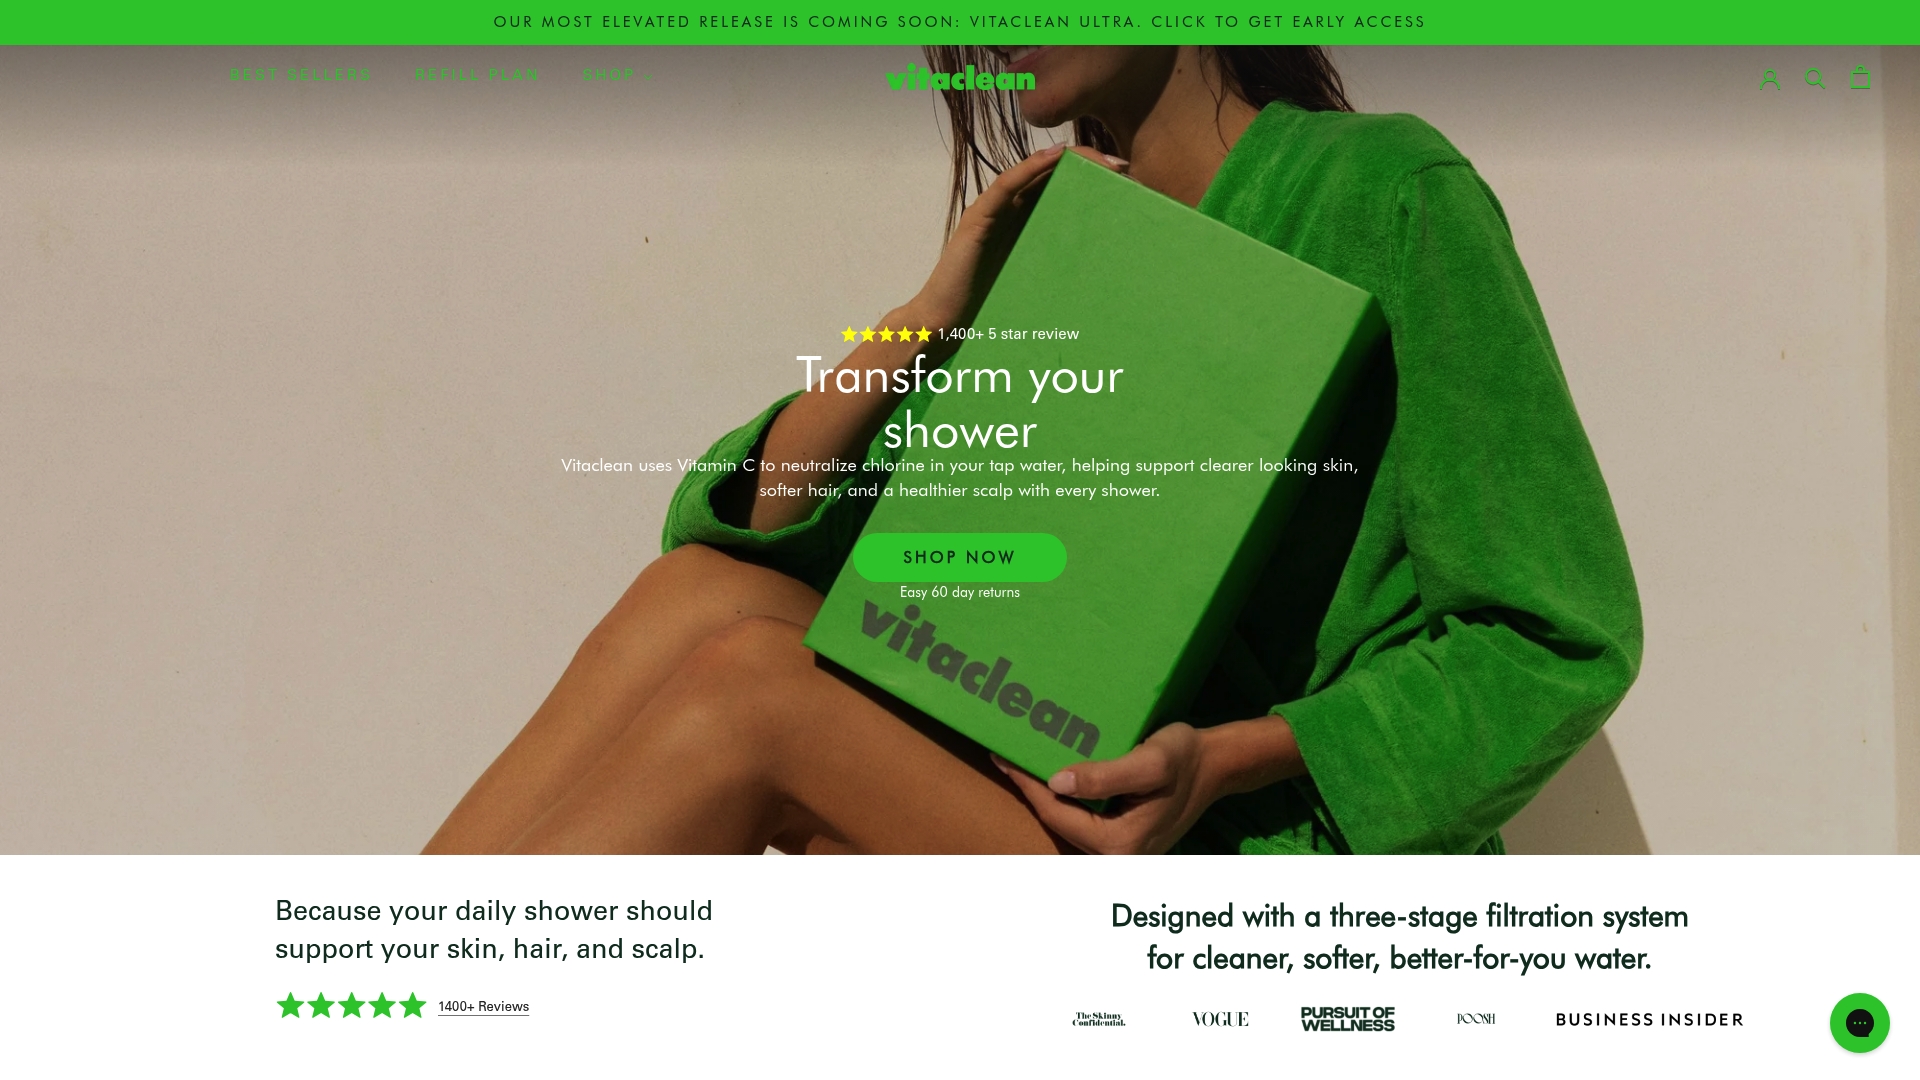
Discover Vitaclean’s vitamin C shower filtration solutions
Ready to experience cleaner shower water and healthier skin? Vitaclean offers expertly designed Vitamin C shower heads that neutralize up to 99% of chlorine and chloramine. Their products combine effective filtration with user-friendly installation.
Maintenance stays simple with replaceable Vitamin C filter cartridges that snap in quickly. No tools required. Each cartridge delivers three months of optimal performance before needing replacement.
Subscribe to the filter refill subscription plan for hassle-free deliveries. Cartridges arrive automatically every three months, ensuring your filter always performs at peak efficiency. You’ll never accidentally shower with an expired filter again.
Frequently asked questions about vitamin C shower filters
How often should I replace my Vitamin C shower filter?
Replace your filter cartridge every three months for optimal chlorine removal. Waiting longer reduces effectiveness and diminishes skin and hair benefits. Set a calendar reminder or subscribe to automatic deliveries to stay on schedule.
Can I install a Vitamin C shower filter myself?
Yes, installation takes about 10 minutes with basic tools. You need an adjustable wrench and plumber’s tape. Follow the manufacturer’s instructions carefully, avoid overtightening, and check for leaks after turning water back on.
What skin improvements can I expect and when?
Most people notice increased skin hydration within two weeks of use. Dryness, flaking, and tightness decrease as chlorine exposure drops. Hair improvements typically appear after six weeks, with reduced breakage and improved texture.
Are Vitamin C shower filters safe at high water temperatures?
Keep water temperatures below 120°F to protect filter chemistry. Higher heat degrades Vitamin C faster and shortens filter lifespan. Most household water heaters default to safe ranges, but verify your settings.
What should I do if I notice leaks after installation?
First, check that you applied plumber’s tape clockwise on all threads. Tighten connections gently, about a quarter turn past hand-tight. If leaks persist, inspect the rubber washer inside the filter connection for damage or proper seating.